Here are some shots from earlier this year showing the white walls we were working with before we began getting some grey up on them.

The walls weren't bad, we just wanted to get a fresh coat up on them with something a little less sterile feeling and the "stone" grey color we went with had a little touch of warmth to it — we thought it would be perfect for this space and tie more of the colors in the house together by reusing it in this room.
To get started, I prepped all the walls by wiping them down, spackling and sanding over any holes or other weird areas and removing all of the recepticals and switch-plates around the room. Speaking of holes in the wall, we're going to let you in on a little secret. Since moving in, we simply plopped this round metal farm crop chart on the wall near our kitchen to cover up a massive gaping hole:
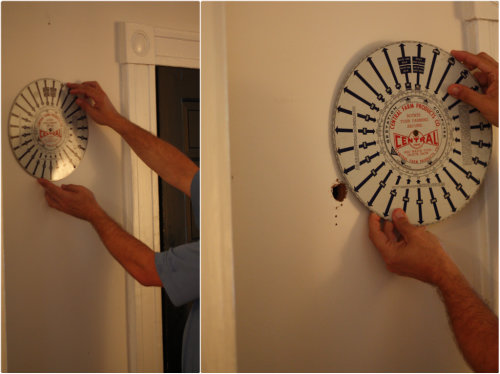
We're not talking small potatoes here people. This wasn't the type of blemish or hole I would be able to just spackle and sand over to call it a day — this guy was going to require some specific attention. So yeah, we covered it up for nearly 9 months before revisiting it to take care of it properly.
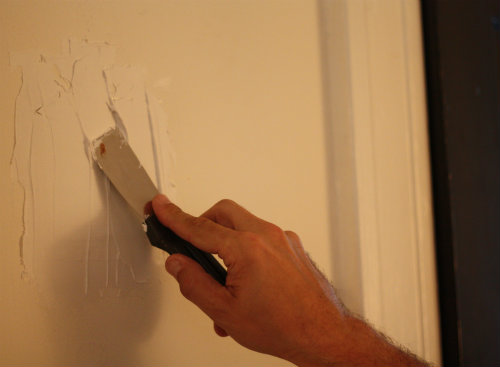
How do you take care of a massive hole like this you ask? With a wall repair patch like this:
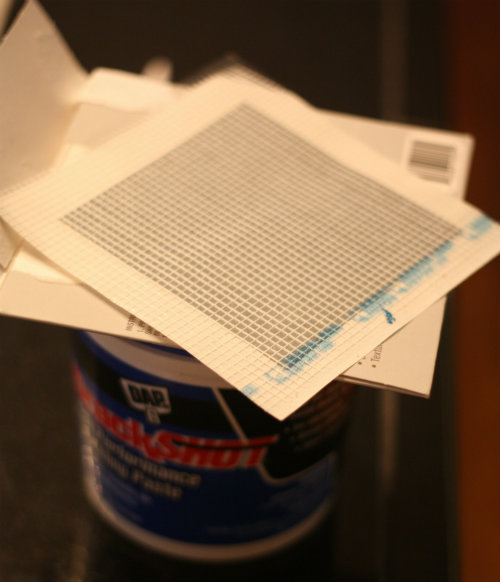
These little guys are awesome. You can find them at nearly any hardware store in any size you need or even online, like this one.
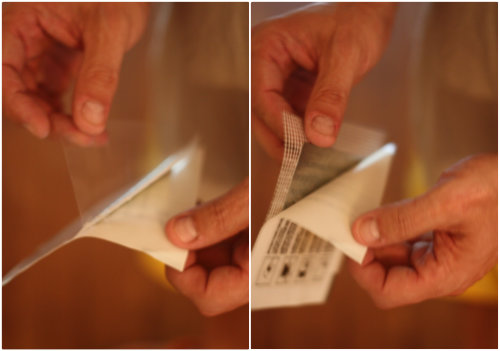
It's like a giant sticker. All you have to do is peel off the protective backings and adhere the patch securely over the damaged area of your wall:

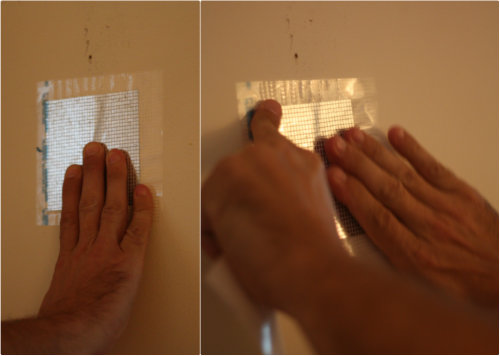
Once in place, generously spackle and sand as you normally would and you are good to go. It's this easy. And with that — goodbye giant hole in our wall:
While I had the spackle out I took care of all the other weird areas in the spaces we were about to paint:
As for our "inspector" — you can see, he was sleeping on the job:
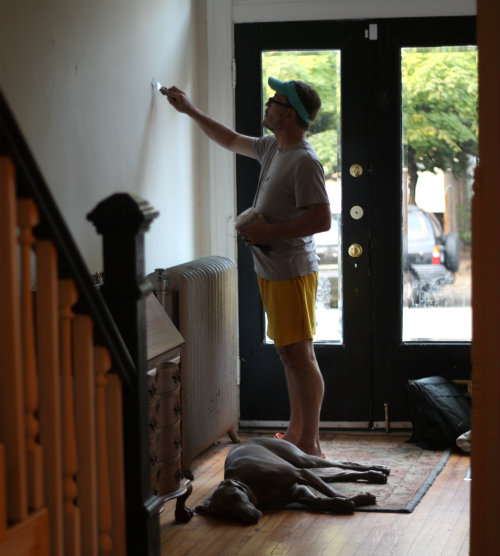
He obviously didn't have that needed energy to keep going like we did.
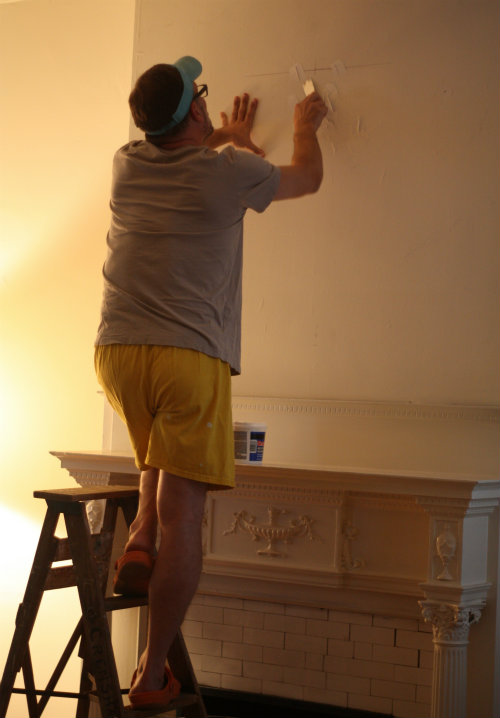
The last step in prepping the walls was removing all of the switchplates around the room so we could really get in and around those tight areas (note the paint visor):
The last step in prepping the walls was removing all of the switchplates around the room so we could really get in and around those tight areas (note the paint visor):

And with that, the ladder came out and we cracked open the paint once again to work into the evening:

The evening we prepped the space, Mary was able to knock out a solid coat of trim all the way around and we got one corner of the room completely painted. I had it in my mind that I only wanted to move the TV once and just knock that entire corner out so we could move it back, get it up and running and then be able to take our time with the rest of the room.
Here's the room partially trimmed with that one corner completely finished:

We called it a night and came back to it the next morning to finish up this space. Mary went around and trimmed out the rest of the space with a second coat:


I tease her that she doesn't have a very steady hand since she paints all over the walls. She'll tell you this is how she rids the brush of excess paint build up while getting a 1st layer of paint into all the lumps, bumps, cracks and other imperfections of our 100 year old walls that I might miss when rolling. In the end, she's the one trimming, which is a job I hate, so I try not to tease her too much.


Once Mary had the rest of the entire space trimmed out with 2 coats, I came in to do what I do best — roll this job out:


It was still light out by the time we finished painting the space, but we took a break before coming back to do touch ups, replace all the hardware and finally get some pieces up on the walls.
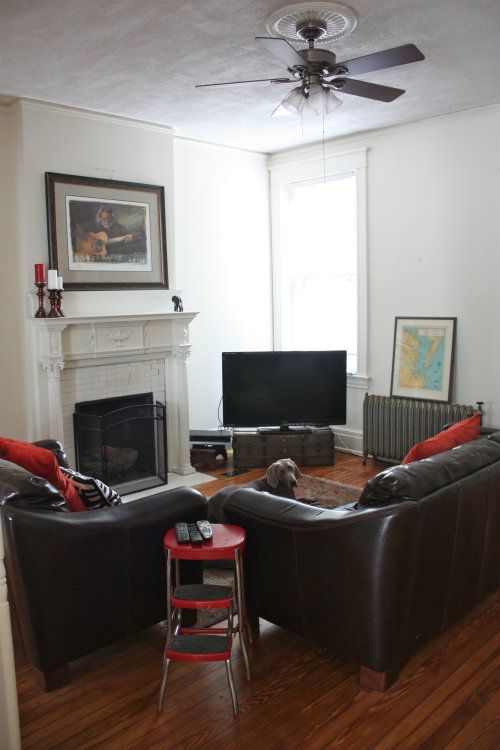
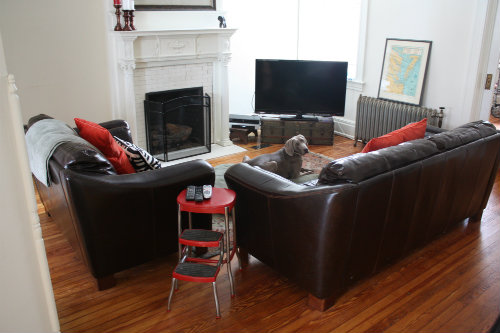
Here comes the part where we show you all 10 photos we took as "After" shots of the painted space once all was said and done. You could say we were pretty excited and trigger happy.


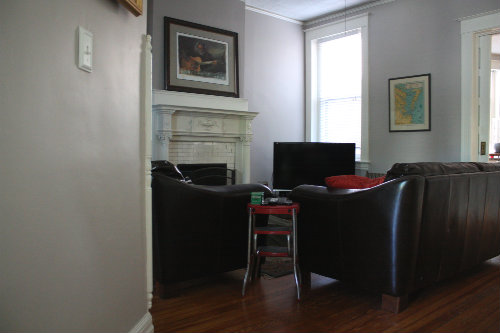


It's a subtle difference, but one we both love. It's exciting to see how much the remaining white painted architectural details stand out now that we painted the walls in the grey.
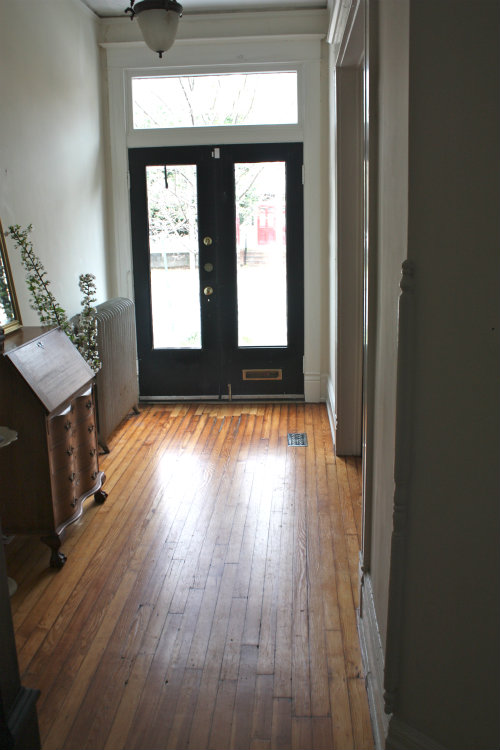
Now most guys might not worry (or even really notice) the appearance of recepticals and switch-plate covers. Given my electrical background, these are actually some of the first things I notice — ironically enough, even more-so than Mary (and she's pretty picky when it comes to visuals). The painted recepticals and seemingly random switch-plate covers throughout the different rooms have been one of my pet peeves since moving in, so you can bet I was thrilled to play electrician and get some crisp white recepticals, switches, and switch-plate covers for the front hallway and surrounding family room:

For anyone wondering, here's what this same space originally looked like from when we first moved in back in December:


So as you can hopefully see, we feel like we're making progress slowly but surely — one little project at a time. We're happy that we've been able to cross one more bullet off the list of things we'd like to do to keep making this house more of our own — it's been fun to see it continue to evolve.


And since I know you all are dying to know, yes, Jerry is loving the new paint color much more as he silently watches over all that we do. He's the man.
So that's the story of how we painted our family room guys. Aside from the front hallway that goes up the stairs, Mary and I are pretty proud that we can say we've painted the entire downstairs of the house. It's actually something I'll admit I wasn't sure we'd accomplish in the 1st year of living here.
Have you taken on a painting or other home project you are particularly proud of recently or made an update that really changed the way you feel about a certain space for the better? We'd love to hear.

Looking good guys!
ReplyDeleteThanks Clay!
DeleteThat looks great! I love being able to just read about your updates instead of having to do them myself. After our last house I'm still burnt out on DIY home improvement projects. We painted our entire house, replaced all the flooring, lighting, counter tops, back splash and re vamped the fire place.
ReplyDeleteHave you ever watched that show Renovation Reality? I think that was the name. Very funny stuff :) Can't wait to see what you do next!
Wow that's a lot to take on Angie! I bet it looked amazing. We haven't seen Renovation Reality but it sounds like a show we need to look up — thanks for the recommendation!
DeleteHi,
ReplyDeleteWe are moving into a really old house (200 years old). It is so dark inside, mostly because there is so much trim that is really dark and very shiny. I want to paint it all white like your house. Was yours already white when you moved in or did you decide to paint after moving in. Im so conflicted. I know it would brighten it up, but I know you arent suppose to paint the old beautiful trim. What to do?
Your place is a model for our renovations. Thanks so much sharing.
Shoshgirl, first wow! We are humbled thank you so much for the kind words. A 200 year old house you have us beat by 100 years! Tough to call and yes our trim was already painted and it did work for us. We were disappointed that some of things were painted white like the pocket doors for example. We will eventually get around to stripping those.
DeleteIt is really a personal preference at this point but I would start with a fresh coat of paint on the walls and you will be amazed what that will do to brighten up a room. After that you can make the decision on the trim.
We are very curios to know which part of the country you are in and if you are so inclined we would love to see some before and afters! Sounds like a wonderful project!
Good luck and stay in touch!